How to Make Brandy
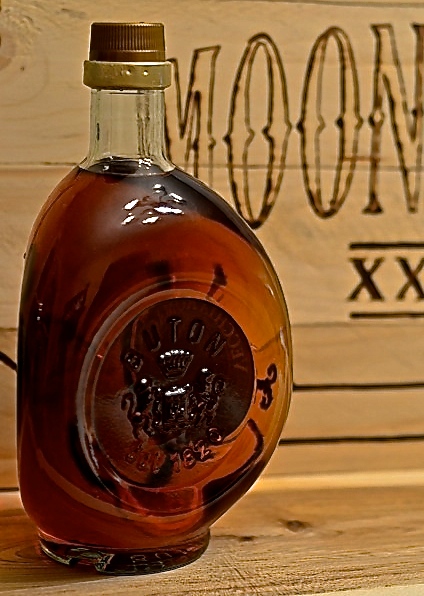
 Making your own homemade brandy is a great way to warm you up from the inside out with all the scents and flavours of the summer. The term ‘brandy’ comes from the dutch word ‘brandywign’ which means ‘burnt wine’, or wine that has been distilled to concentrate the flavours. Essentially, brandy is created by distilling wine using any type of fruit. After you ferment the fruit, you distill it to get a strong, flavourful spirit.
Brandy is most commonly categorized into to two categories: grape brandy and fruit brandy. Grape brandy is made by fermenting crushed grapes. Grape brandy is often aged in oak barrels (making it not ideal for home distilling) to help mellow the harsh flavour as well as bring out the aromas and flavours from the oak itself.
The other type of brandy, fruit brandy, is the most commonly made. This includes any spirit that is distilled from a fermented fruit other than grapes.
To learn how to make your very own homemade brandy, follow the steps below.
MAKING YOUR WINE

STEP #1– Choose your fruit. Pears, apples, peaches, plums, and grapes are most commonly used. Grape brandy however needs to be aged in oak barrels, so other fruits are more suited to home distilling. If you wish to make your own wine, you will need to ferment your fruit, which you will want to start at least a month before you want to start distilling it. If you want to start distilling it right away, purchase a few liters of fruit wine and skip to the “Setting Up Your Still” section. You will want to gather your fruit when it is most ripe. To make a small batch of brandy, you will need about 3 quarts of fruit.
STEP #2– Once you’ve chosen your fruit, wash it and cut it into small slices, removing any pits. You do not need to remove the skins.
STEP #3– Next, you need to mash your fruit (I use a potato masher) in a glass or ceramic container (not wood or metal). Mashing the fruit helps speed up the fermentation process.
Note: If you are using berries, you will have to add sugar. Berries do not contain enough sugars in them to make a wine that can be distilled properly. There are two ways around this.
1) line the bottom of your container with sugar, then a layer of berries. Continue layering until all the fruit is used up.
2) Soak the berries in a high proof spirit, which extracts their flavors and aromas, then distill once at a low proof.
STEP #4– Add yeast and water. Dissolve 6 teaspoons of active dry yeast (found at any grocery store) in a cup of warm water. Add this mixture to the fruit. Add 6 cups cold water.
STEP #5– Let the fermentation process begin! Cover up your mixture with a plate and let sit in a cool place for four weeks, stirring once a week.
STEP #6– Bottle your wine and store until you are ready to distill.
SETTING UP YOUR STILL

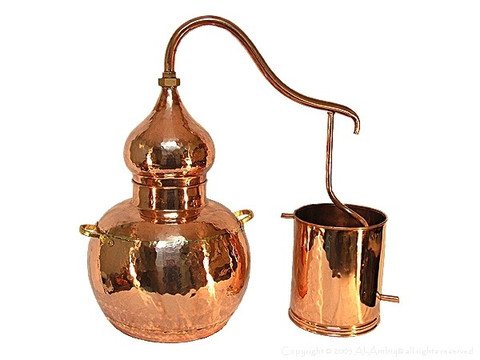
If you wish to make brandy at home, you will need a still that is small enough to operate on your stove top. Alembic copper stills work best for this. If you wish to make your own copper still check out these how to guides for pot and reflux stills. Before you begin, here is what you’ll need:
- a still
- wine
- a laddle
- a large pot big enough to fit the still inside (dutch oven works best)
- clean glass containers to collect liquid that comes out of the pipe
- towel to wipe up spills
- large glass jar to store finished brandy
STEP #1– Fill your dutch oven (or large container) with a few inches of water and place the still inside. The water should rise about 3/4 of the way up the sides, so add more water if necessary. Place the pot and still over your gas burner or heat source.
STEP #2- Fill your still 3/4 full with your wine. It is important that you leave the 1/4 of the still empty because once the wine heats up, it can bubble and rise.
STEP #3- Place the lid on the still and connect the tube from the lid to the condenser coil. Place cold water in the condenser and place a glass under the spout to collect the alcohol.
DISTILLING YOUR WINE
Before you start distilling it’s important for you to understand how to make cuts for heads, hearts and tails and the temperatures at which various compounds present in your wash including ethanol, methanol, acetone and Propanol evaporate. I wrote this guide to cuts and fractions that will explain this in more detail. I suggest reading that guide before proceeding.

STEP #1– To get it going, you can turn the heat on high, but as soon as the alcohol starts dripping out of the spout, turn down the heat. Don’t let the contents get too hot, it doesn’t need to boil, just a nice steady simmer. It is also important at this time that you do not let the contents drip out too quickly. The slower the drip, the better the brandy. You should aim for 1 drop per 1-3 seconds to get a finer, more aromatic brandy.
STEP #2- The first thing that will come out will be the fore shots. This contains a toxic combination of acetone and methyl alcohol and it will smell strongly like chemicals. There will be about 7.5 ml per 1.5 liters (0.4 US gal) of wine. Discard this. Next up are the Heads, collect 750 ml and set aside. You will save this to add into your next run.
STEP #3- Once the heads have been collected, the next liquid to come out will be the hearts. The hearts is the good stuff. It should be clear and you will be able to smell a hint of the fruit you used in your wine. Collect the hearts in small glasses. You’ll get about 300 ml per 1.5 liters (0.4 US gal) of wine.
STEP #4- The remainder of the liquid will be the tails. The tails may look milky and will lose the fruity aroma. Discard the tails.
STEP #5- Store the hearts in a glass jar at a cool temperature. The longer you leave it, the better it will taste, so be patient. I swear it will be worth it.
You can control flavor of rum, whiskey or brandy by blending your cuts after the distilling is completed. For more information on blending your spirit run check out this Guide. I’ve gone into much more detail on distilling and how to make cuts there.
If you’ve got any questions about making brandy leave a comment, we’d love to help. If you’ve got a brandy recipe you think the world needs to know about share it! We love trying new one’s!